In this post, we show how to set up a continuous integration continuous deployment (CICD) process for a serverless python application on AWS and Zappa. In a Serverless infrastructure model, the cloud provider (AWS, Azure, or Google Cloud) is responsible for setting up and executing applications by dynamically allocating the needed resources. The provider charges only for the number of resources used to run the application.
Serverless apps typically run inside stateless containers that accept a variety of triggers such as HTTP requests, database events, queuing services, monitoring alerts, file uploads, scheduled events (cron jobs), etc. This post will also cover the tools used and detailed instructions to build and deploy a serverless python application.
What is Zappa?
Zappa is an open-source tool designed and developed by Rich Jones. Zappa is mainly used to build and deploy serverless Python applications on AWS Lambda and API Gateway.
Following are a few highlights of Zappa:
- Zappa makes it easy to build and deploy serverless, event-driven Python applications on AWS Lambda + API Gateway
- With Zappa, you only pay for the server time you use
- Zappa requires a valid AWS account
What is Gitlab CICD?
GitLab CI (Continuous Integration) service builds and tests software every time a developer pushes code to the application. GitLab CD (Continuous Deployment) moves code changes to production, which results in on-the-fly deployment of the application.
How does Gitlab CICD work?
- To use GitLab CI/CD, you need the application code hosted in a Git repository
- The .gitlab-ci.yml file is a YAML file located in the root directory of your project. All build, test, and deployment scripts are present in the .gitlab-ci.yml file. This file automatically executes each time you push code to the remote repository.
- In the .gitlab-ci.yml file, you can define the scripts that you wish to run and the location where you’d like to deploy your app.
- GitLab will detect the .gitlab-ci.yml file in your remote repository and run your scripts with the GitLab Runner tool.
Install and Configure GitLab Runner
GitLab Runner triggers each time code is pushed to the repository, and a valid .gitlab-ci.yml file is present. This file specifies how the build environment is set up. This YAML file also lists the commands to build, test, and deploy our project in a series of parallel jobs. You can also share your Runner among different projects.
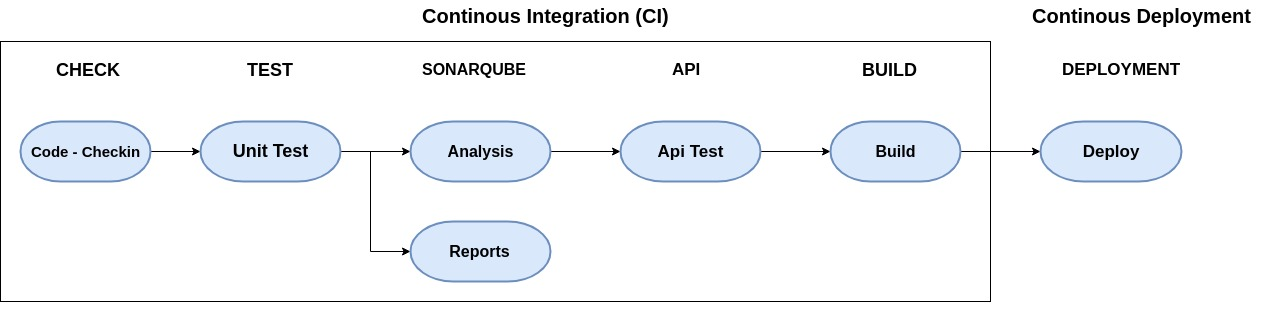
Pipeline Diagram
Shown below is an example of building a front-end application and deploy it through the backend (python-Django) using a serverless architecture.
Technology/tools used: Python, Django, Angular 6, and TypeScript
Source code repository: Gitlab
Services: AWS.
If all the jobs in a stage succeed, the pipeline moves on to the next step. If a stage fails, then the pipeline ends and does not move to the next stage.
Gitlab CICD pipeline
The CICD has the following six stages for Development Environment (Dev env).
- Check
- Test
- Analysis
- API test
- Build
- Deploy
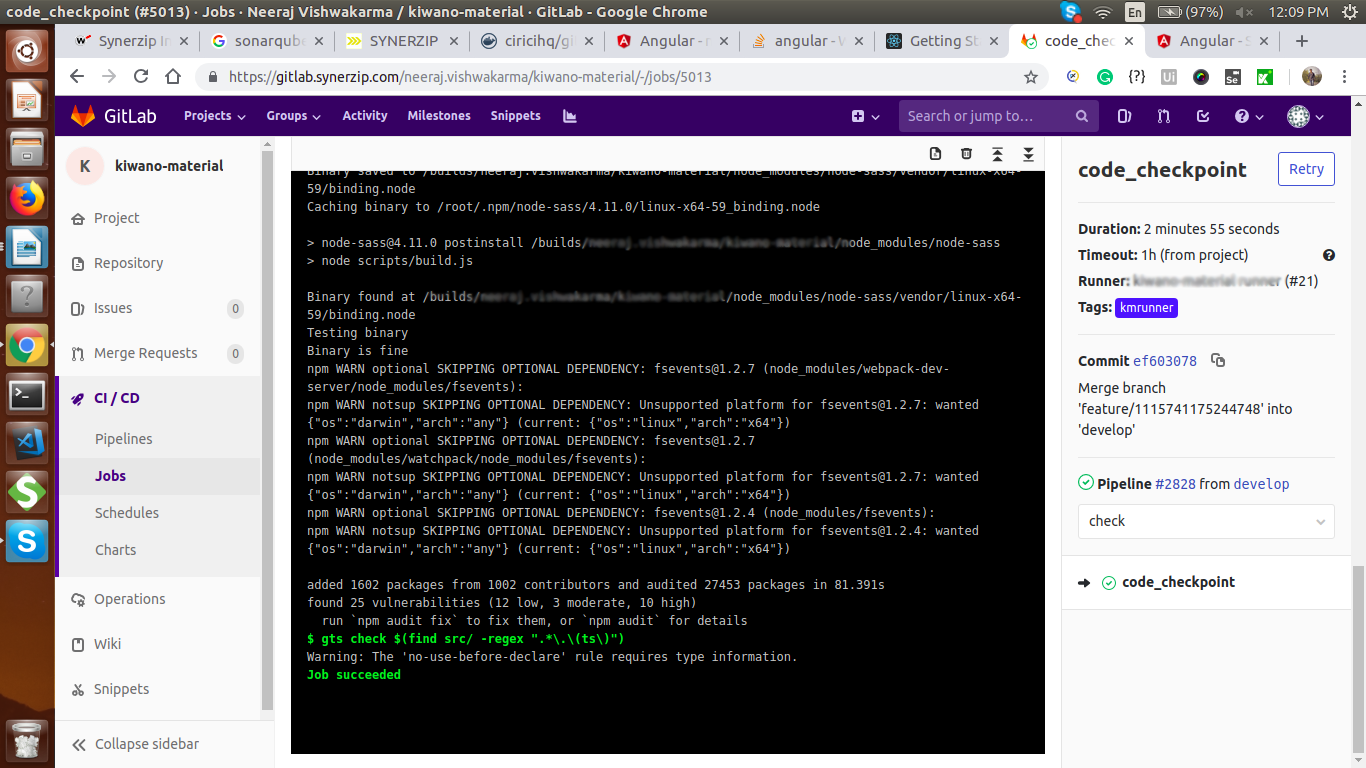
Check
At the Check, stage code is checked-in when the developer pushes code to the repository. We have used Google’s TypeScript style guide and configuration for our formatter, linter, and automatic code fixer.
gts fix $(find src/ -regex ".*\.\(ts\)")
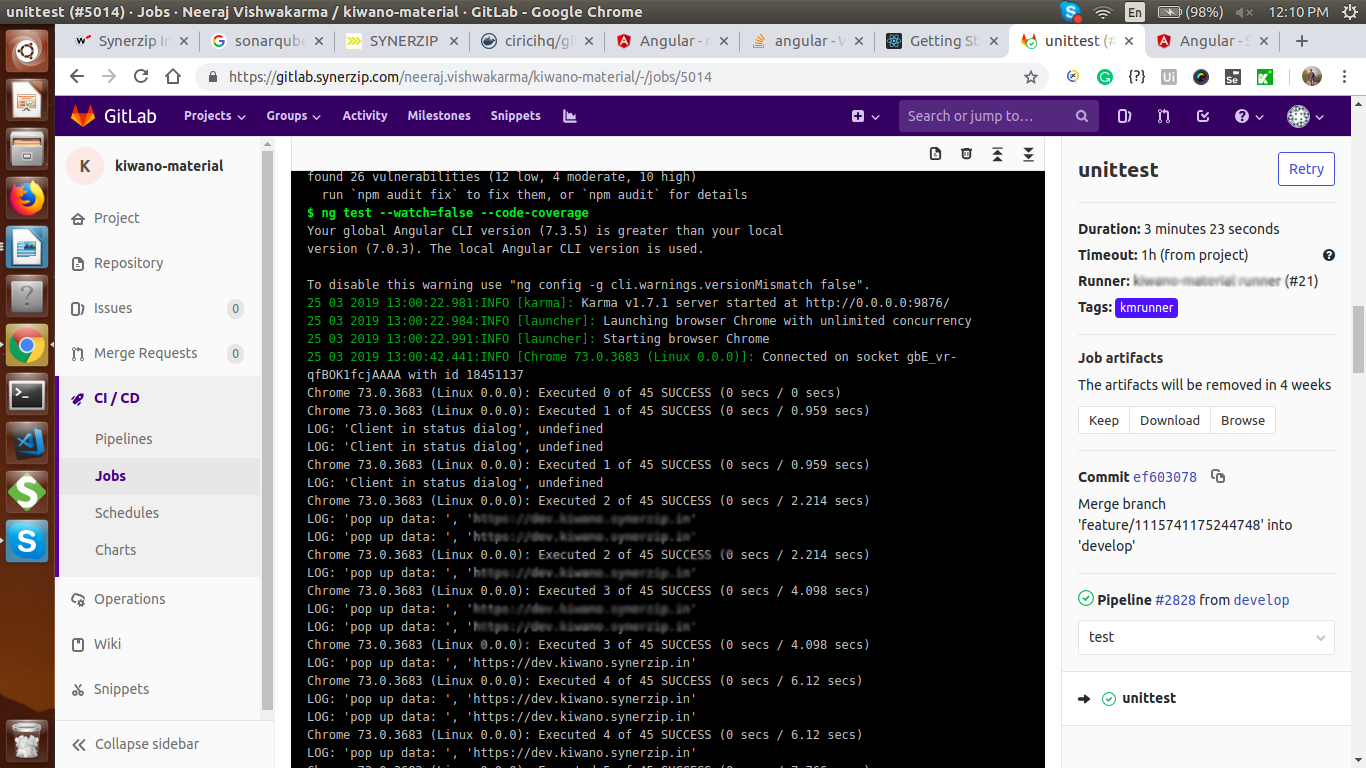
Test
The Test stage will execute unit test cases
ng test --watch=false --code-coverage
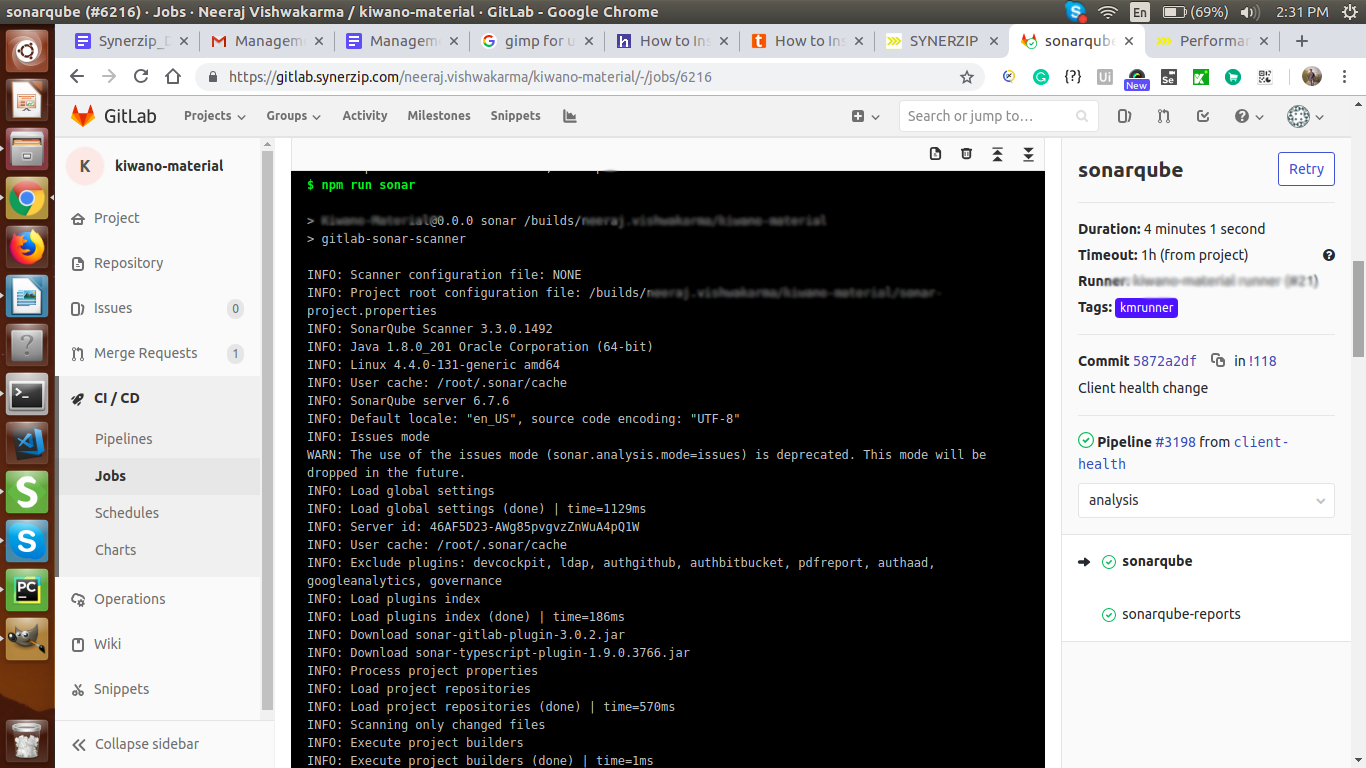
Analysis
The Analysis job sends data to SonarQube and generates a coverage report.
The SonarQube tool can be used for code inspection and inspect both the source code and the compiled code. It also checks code quality and analyzes it to detect bugs, code smells, and security vulnerabilities.
Furthermore, SonarQube works with 20+ programming languages and can also generate reports on duplicated code, coding standards, unit tests, and code coverage.
Here we create a sonar-project.properties file
sonar.projectKey= your_project_key
sonar.projectName=your_project_name
sonar.sources=src
sonar.exclusions=**/node_modules/**,**/*.spec.ts
sonar.tests=src
sonar.test.inclusions=**/*.spec.ts
sonar.ts.tslint.configPath=tslint.json
sonar.typescript.lcov.reportPaths=coverage_report_path
sonar.host.url=sonar_url
There are two modes in SonarQube:
Issues mode, in which SonarQube raises an issue every time the coding rule break. This mode, however, has now been deprecated.
npm run sonar
Report mode
- In this mode, SonarTS (Typescript) does not generate its test coverage report but re-uses the one created by LCOV. Using SonarQube analysis, execute your unit tests, and make the LCOV report.
- Import this LCOV report while running the SonarQube analysis by providing the paths of the LCOV report through the following properties. The paths may be absolute or relative to the project base directory.
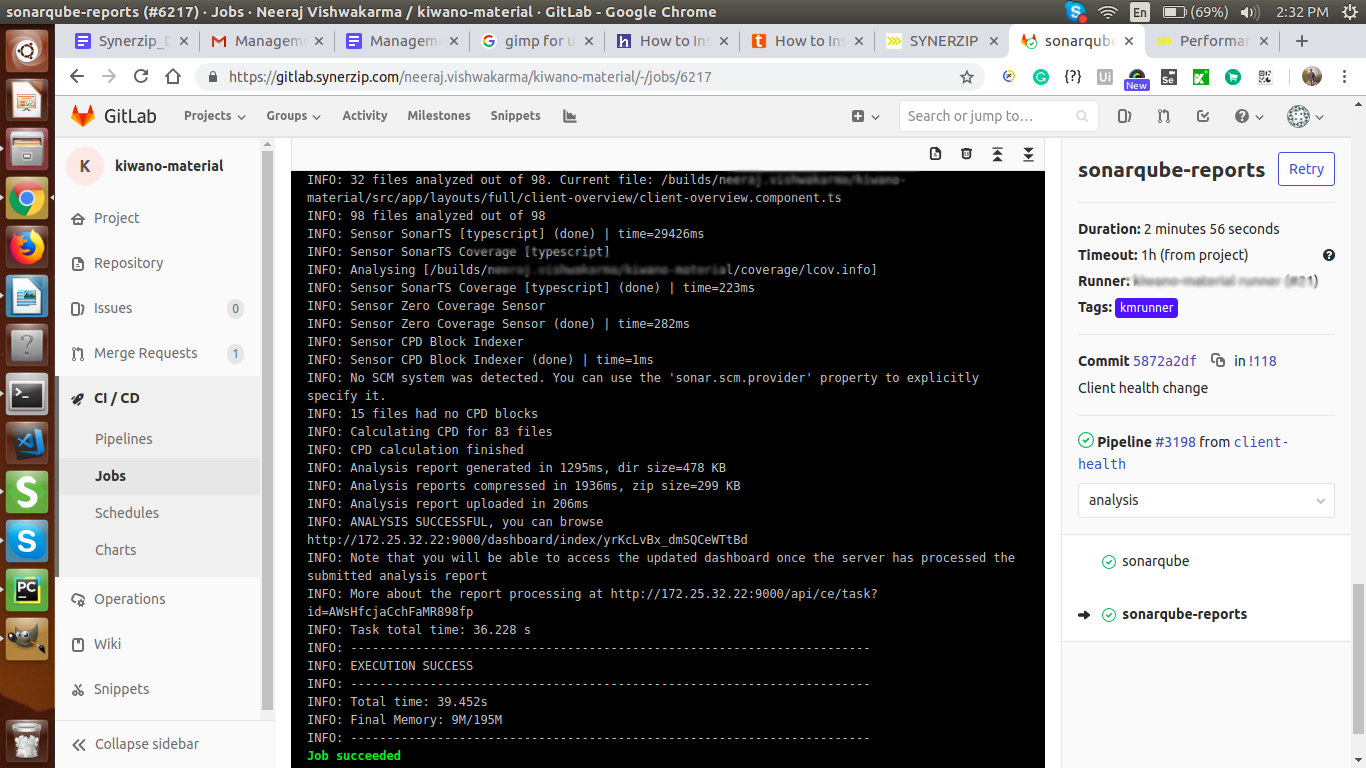
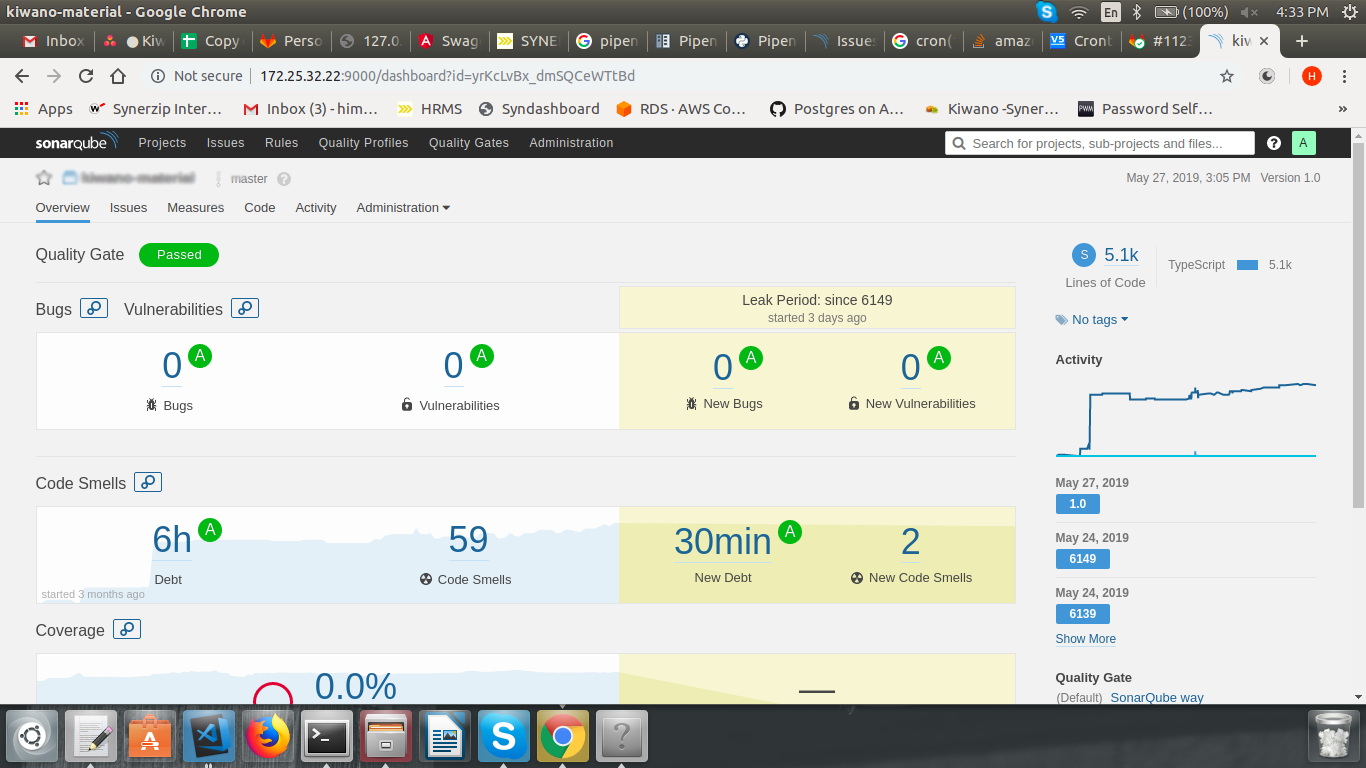
SonarQube Report
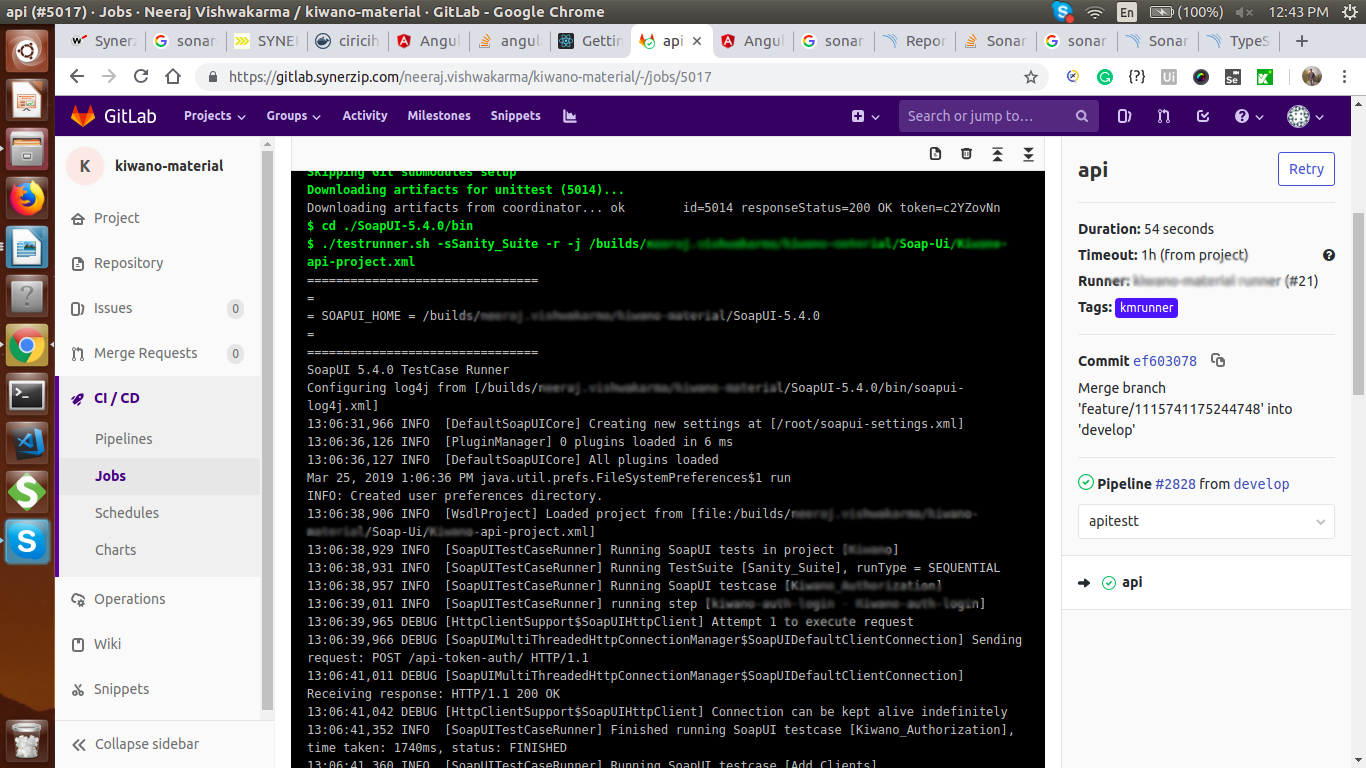
API test
API test will execute functional(API) test cases.
./testrunner.sh -sSanity_Suite -r -j /builds/Soap-Ui/api-project.xml
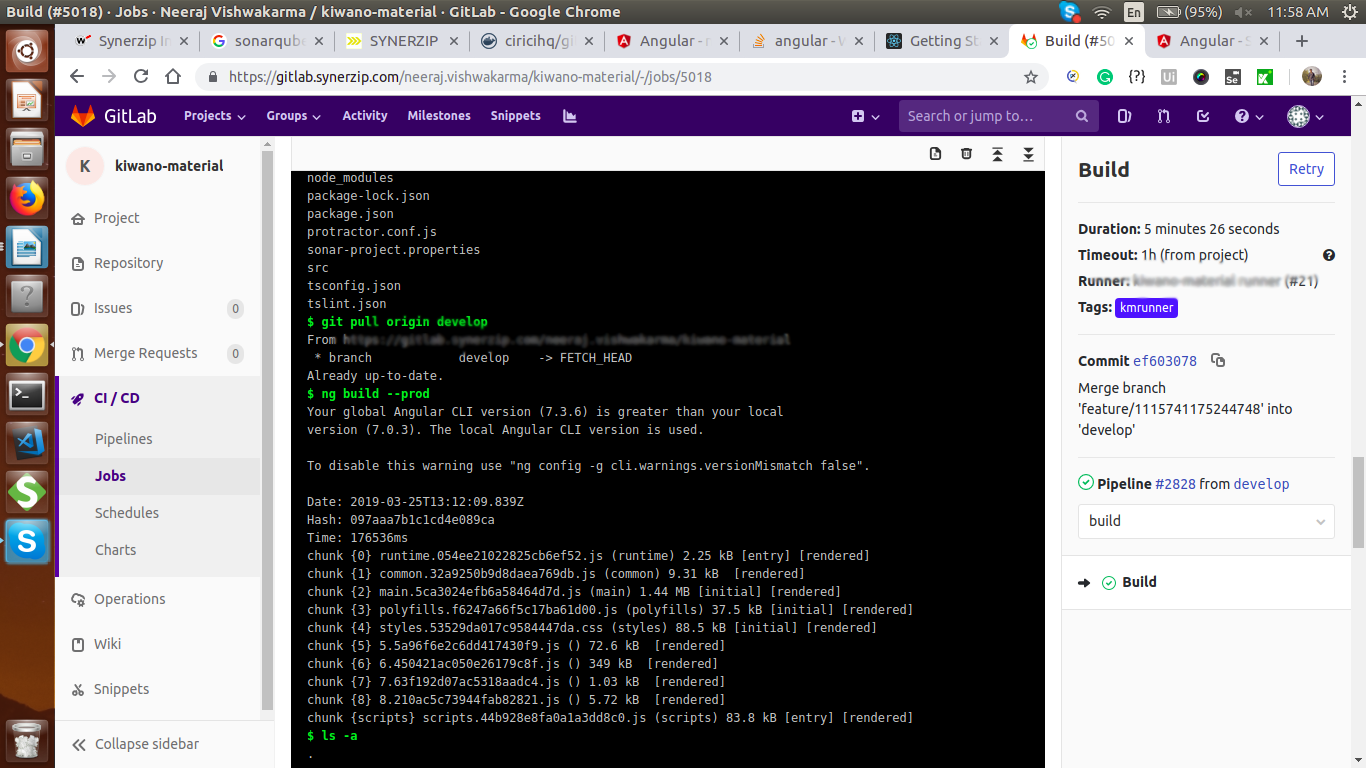
Build
Build the front-end application that serves the Angular Application through Django (backend).
ng build --prod
Compiles an Angular app into an output directory named dist/ at the given output path. This app must execute from within a workspace directory.
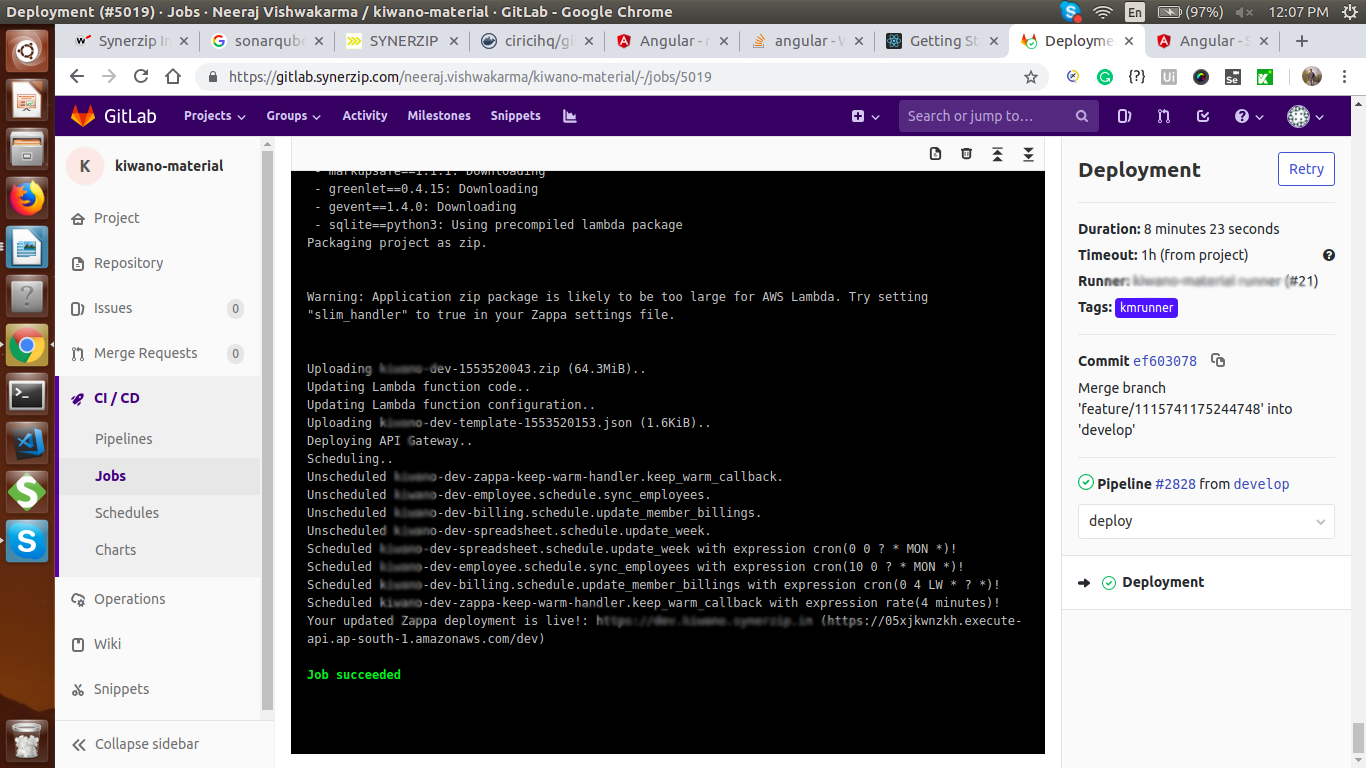
Deploy
Accepted merge request is deployed on the Dev environment
Zappa update dev
Conclusion
Automating CI and CD will result in faster builds and deliver quicker results. A properly setup CICD pipeline increases transparency and visibility. This transparency means the entire team is now aware of build status as well as the latest test results. They can now raise issues and plan their work accordingly. You can also see the changes that tend to break builds more often.
Furthermore, another intent of CI is to improve code quality using SonarQube. SonarQube scans the code and generates a report of how well the latest changes adhere to good coding practices. Additionally, SonarQube also runs automated tests to ensure that the changes did not break any functionality.
If you are following other methods automating your serverless setups, please tweet and let us know! If you found this post interesting and useful, here is another one that may interest you,